Throw and Catch – Wheeling

Throw and Catch – Wheeling

Requirements

  • Gymnasium or outdoor space with hard ground surface, soft balls of different sizes.

Instructions

  1. Child in a wheelchair throws and catches back and forth with another child or adult.
  2. Start 2 metres apart and then move farther apart when more challenge is desired.

Variations

  • If you want to make catching easier, try using lighter, softer, and bigger balls.
  • For extra challenge, try to throw and catch while moving.

Benefits

This activity develops throwing and catching skills together with core strength

Tennis Ball Bounce Catch

Tennis Ball Bounce Catch

Requirements

  • Open outdoor space
  • Tennis ball

Instructions

  1. In a large open area with pavement, gently play catch with your child using a tennis ball.
  2. Start by playing catch with simple underhand tosses from 2-4 metres.
  3. As your child becomes confident in catching the tennis ball, increase distance to 5-8 metres and toss the tennis ball so it bounces 1-2 metres in front of your child.
  4. Catch the tennis ball after it has bounced once.

Variations

  • Increase the distance and speed of your throws as your child shows more confidence and consistency in catching
  • You can also try overhand throws for more speed and distance

Benefits

This activity develops hand-eye coordination, fine motor control, and the ability to track moving objects in the air. These skills transfer to sports and activities that involve flying objects (e.g., balls, shuttlecocks, frisbees, ribbons, sticks, batons).

Target Throwing

Target Throwing

Requirements

  • Open space, preferably outdoor
  • Beanbags or homemade beanbags
  • Masking tape or duct tape
  • Sheets of 8.5 X 11 inch letter paper

Instructions

  1. If you don’t have beanbags, make your own by filling round balloons with dry rice or beans and then tying them closed.
  2. Tape 2 or 3 sheets of letter paper on a wall or garden fence as targets.
  3. If you want, you can draw circular targets on the paper for added effect.
  4. Choose a distance where you and your child will throw from.
  5. Throw the beanbags at the targets.TIP: Show your child how to do a basic overhand throw.

    TIP: If you are throwing right-handed, your left leg should step forward.

    TIP: If you are throwing left-handed, your right leg should step forward.

    TIP: Your throwing hand should come from behind and over your shoulder.

  6. Take turns throwing your beanbags at the targets.

Variations

  • As your child’s throwing improves, try making a game where you keep score – each target might be worth 1-3 points, depending on how big it is, or how far it is from your throwing line
  • As your child’s throwing improves, try increasing the throwing distance
  • You can also practice target throwing at a beach where there are no people swimming – throw sticks into the water about 3-5 metres from shore, and throw small rocks to try to hit them

Benefits

This activity develops coordination of arms and torso, fine motor control, and the ability to “read” distances. These skills transfer to sports and activities that involve throwing an object accurately over a perceived distance (e.g., balls, frisbees, javelins, darts, ribbons, sticks, batons).

Tag

Tag

Requirements
  • Open outdoor space
  • Preferably a grass or non-slip surface
  • At least three players (e.g. one parent, two children)

Instructions

  1. Define boundaries for the tag area (use trees, sidewalks, fences, other landmarks).
  2. Play tag with one person who is “it” and tries to tag another player.
  3. Make the area small enough that players cannot simply run away. It should be possible for the person who is “it” to corner one of the players.
  4. With the right size area, players are forced to move quickly side-to-side to “duck” the tag. This builds foot speed and agility.
  5. If a child has too much difficulty tagging someone, the adult should make the area smaller, or take a turn as the “it” person.

Variations

  • If you have several children playing, make the area larger to accommodate more players
  • In dry weather with non-abrasive surfaces, try playing “freeze tag” – players pretend to “freeze” solid when they are tagged – other players can unfreeze them by going through their legs or under one arm

Benefits

This activity develops coordination of legs, arms and torso, plus dynamic balance and speed. These skills transfer to sports and activities that involve dynamic balance and speed (e.g., soccer, basketball, hockey, volleyball, racquet sports, martial arts, dance).

Standing Broad Jump

Standing Broad Jump

Requirements
  • Open space
  • Markers (chalk, ribbon, etc.)

Instructions

  1. In an open space, find or create a line on the ground.
  2. Have your child stand behind the line, feet together, with toes touching the line.
  3. Show your child how to jump, bending at knees, bent arms reaching downwards and back, and then throwing arms upwards as you spring forward with feet together.
  4. Mark the landing spot for each jump.
  5. Challenge your child to beat your jump.
  6. Challenge your child to beat their own jump.TIP: Show how to land with feet shoulder-width apart, and knees aligned above feet.

Variations

  • Challenge your child to jump with one foot only
  • Try fun scenarios – for example, pretend to be Spiderman leaping between buildings

Benefits

This activity develops dynamic balance, coordination, and strength required for any and all sports and activities that involve jumping (e.g., basketball, baseball, soccer, volleyball, track and field, gymnastics, diving).

Soccer Dribbling

Soccer Dribbling

Requirements

• Open and flat outdoor space at least 5m by 5m
• Soccer ball
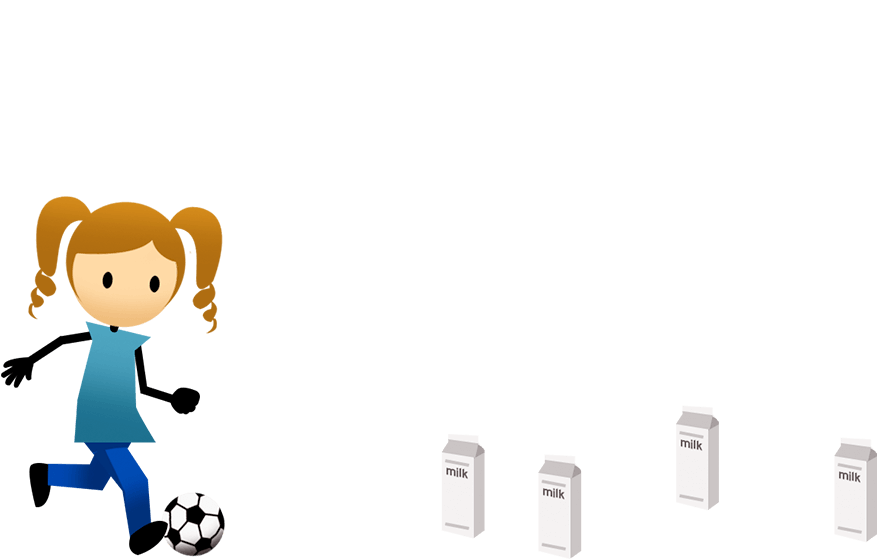
• 10-20 empty plastic yoghurt containers or other safe, light objects for markers

Instructions

  1. In a flat, open outdoor space, create 5-10 one-metre goals or “gates”.
  2. Place the gates at odd angles to each other around the area.
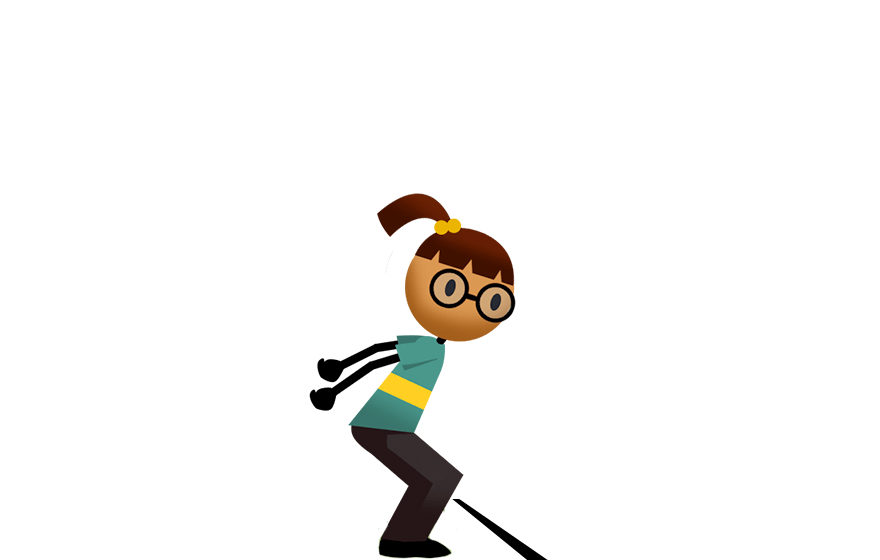
  3. Have your child dribble the soccer ball through the gates using tiny kicks.
  4. Count how many gates your child can dribble through in one minute.TIP: Show your child how to dribble using soft, gentle kicks to keep the ball very close to feet.

    TIP: Show children how to dribble using the inside of the foot, outside of the foot, and toe.

    TIP: You can also “dribble” the ball using the bottom of your foot by putting one foot on top of the ball and pushing or pulling it.

Variations

• Challenge your child to dribble using both feet (any surface of foot).
• Challenge your child to dribble using only right foot (any surface of foot).
• Challenge your child to dribble using only left foot (any surface of foot).

Benefits

This activity develops leg coordination, strength and fine motor control in the lower body. It also develops balance and rhythmical movement. These skills transfer to sports and activities that involve dynamic balance and rhythmical movement (e.g., soccer, basketball, volleyball, racquet sports, martial arts, dance).

close btn