by Neetu | May 26, 2020 | Sports
Warmup – Defending: Pressing the ball
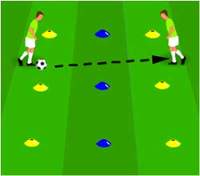
The receiver will dribble the ball and the defenders will back up keeping a good defending posture without tackling or snatching.
- After several repetitions, play 1v1 – As soon as the server passes the soccer ball the defender will press the attacker.
- The attacker will then try to score by passing or dribbling through the goal. If the defender wins the ball he/she can score (Transition).
Coach Intervention
- Focus on speed and angle of approach, body position, etc.
- Close the attacker Down
- Timing of tackle
- Posture while slowing down the
- Attacker and while pressing the
- attacker
Conditional game – 4v4 or 5v5 Man to Man to marking
Pair players up so they must mark each other throughout the game. The objective is to stop your partner scoring. You can only win the ball from your partner.
Coach Intervention
- Close the attacker
- Distance to kept away from the attacker
- Body Stance
- Timing of tackling
- Stay on your feet
by Neetu | May 26, 2020 | Sports
Divide the players into groups of four. Assign one player to two of the cones and two players with the ball will share one cone as shown in the figure. The players receive and pass the ball in a triangle formation. All players follow their pass.
Variations
- Receive and pass with the same foot
- Receive Left pass right, Receive Right, pass left
- Pass with one foot and directional first touch past the cone
Coach Intervention
- Head up to make eye contact
- Weight and accuracy of the pass
- First touch(To prepare the ball)
- The surface of the foot
- The surface of the ball
- Technique with both feet
- Keep feet moving
Conditional game – 3v3 and 4v4 (without a goalkeeper)
- Two teams with a specific formation
- Small sided marked field as shown in the figure with dimensions according to the number of players
- The aim is to make more passes and keep possession
- Give one goal for 10 successful passes other than assigned goals
Coach Intervention
- Make the players aware of the positions they are playing.
- Make them aware when to dribble and when to pass
- Tell them how to make open spaces for their teammates
- Keep encouraging students to exchange the passes
by Neetu | May 26, 2020 | Fitness Activity
Aim
To practice locomotor skills while following along on an imaginary trip to the North Pole.
Equipment Required
- Four cones for boundaries (same color).
- Spot marker for every kid.
- Music Player & pen drive.
- A large parachute.
- Fluff Balls
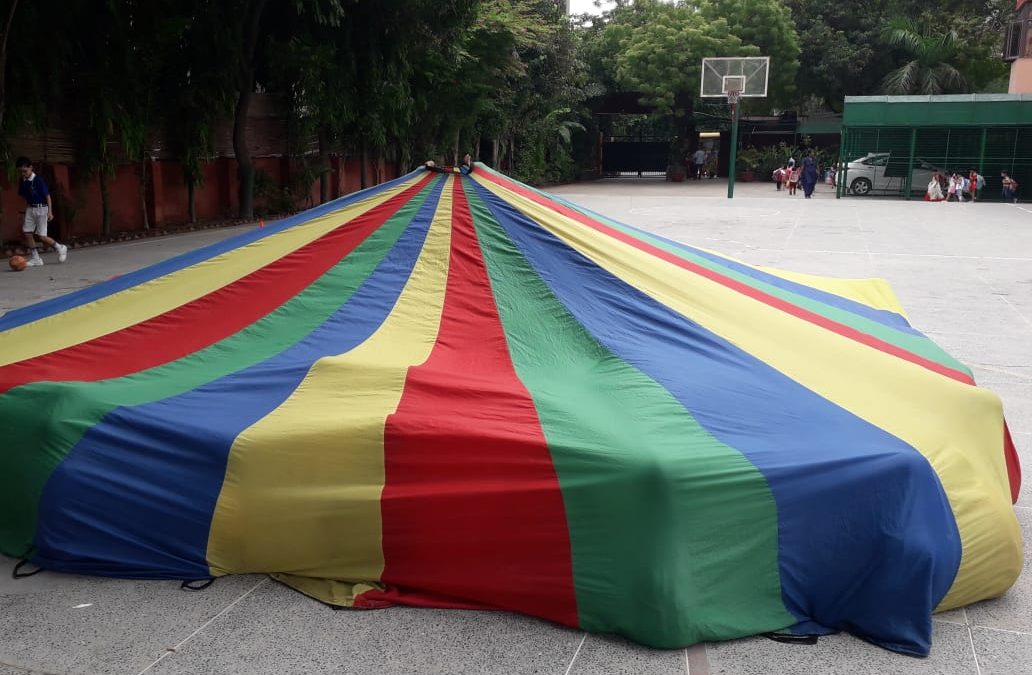
Play Area Set-Up
- Spread the parachute completely and lay it on the ground
- Have children hold the handles of the parachute or rolled up edges
Activity Description
When students arrive in the ground, explain to them that they are going on an adventure to the North Pole. Tell them they will be starting out asleep at “home” and will travel across high snowbanks to reach the train station. Tell them to follow along with what you do, as they listen to the story of their adventure.
- Say: “We are sound asleep in our nice, warm house. Oh! Time to wake up!”
- Say: “Let’s put on our coat and hat and mittens! Don’t forget your boots!”
- Say: “Now let’s go outside. Oh no! We can’t see where to go because the snowbanks are so high! Look! There’s a tree branch. Let’s jump up and grab onto it so we can climb up!”
- Action: Jump up, reaching arms up high.
- Action: Put your hand on your forehead, as though peering out into the distance. Then point.
- Say: “Now that we are up high we can see over the snowbanks. I wonder where the train is. Oh! I see it! I am so excited!”
- Action: Start to skip around the gym, all the way to the train platform.
- Say: “Let me have your train tickets.”
- Action: Hold your hand out to each student as they give you their imaginary tickets.
- Say: “All aboard for the North Pole!”
- Action: Form a single line, student’s hands on the shoulders of the person in front of them. Walk around the gym, pretending to be the train traveling north.
- Say: “It’s time for our first stop! Look! There are some reindeer!”
- Action: Move like reindeer, galloping around the gym.
- Say: “Time to get on board again!”
- Action: Walk around the gym again, simulating a train.
- Say: “Second stop! Oh look at the beautiful snowflakes!”
- Action: Point up and turn all around, as though in awe of the beautiful winter sky.
- Say: “Uh oh! A polar bear! RUN!”
- Action: Run around the gym in general space, being aware of each student’s personal space.
- Say: “All aboard for the final leg of the trip!”
- Action: Walk around the gym simulating a train.
- Say: “We’re here! The North Pole! We need to build an igloo so we can stay warm!”
Action: Stop and point to the parachute in the corner of the gym. Bring the parachute out so students can spread out around the parachute, grab the edge, raise it up, up, up and take a step forward, bringing it down quickly and sitting down on the inside edge, holding the air in like a tent.
Say: “I’m too excited to sleep! Let’s play some parachute games!”
Action: Students can play “popcorn” where light Fluff Balls are popped up in the air by making waves. The balls can be called snowballs. Other parachute games include Cat and Mouse, Switcheroo, Sharks, Merry-go-round, etc. Change the names of the games to fit the theme, for example, Polar Bears and Seals.
PE EFFECTIVENESS
Through observation, check student’s ability to follow the activity cues
DEBRIEFING
Students can be assessed in their ability to move safely in general space. A motor skills checklist can also be used to assess running, galloping and skipping form
by Neetu | May 26, 2020 | Fitness Activity
Aim
We’ll improve our fitness – Strength through Parachute
Equipment Required
- Four cones for boundaries (same color).
- A large parachute with colored edges.
Play Area Set-Up
- Spread the parachute completely and lay it on the ground
- Have children hold the handles of the parachute or rolled up edges
Activity Description
It is widely known that many parachute activities can develop muscular
strength. This activity can be a great addition to a parachute lesson and incorporates upper body strength.
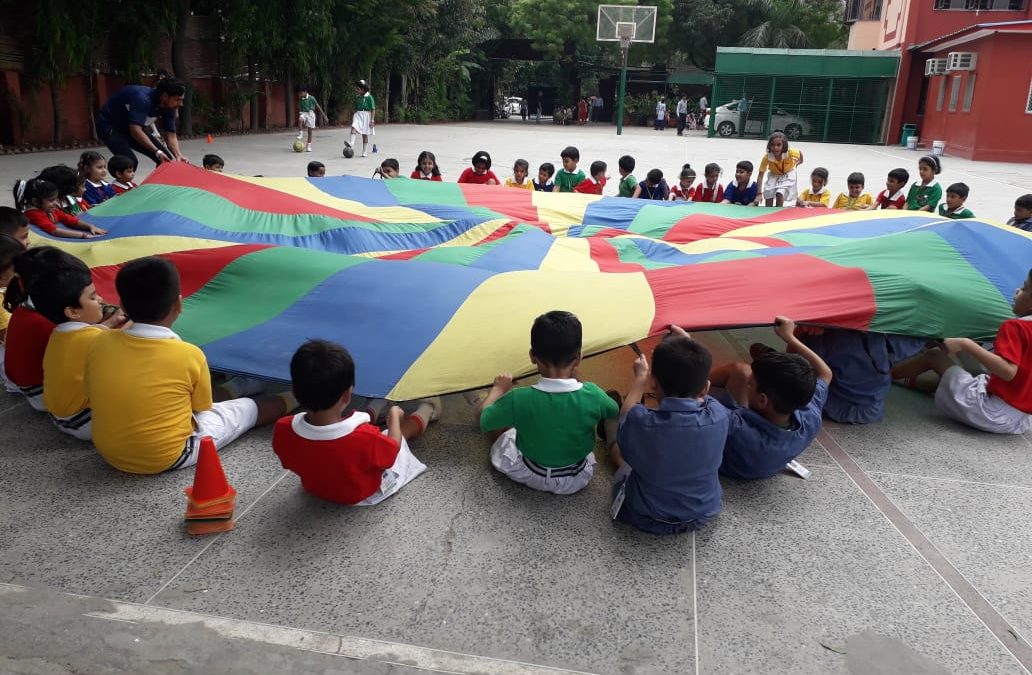
- Start with the parachute spread out on the floor. Has each student sat BEHIND a color wedge? The parachute serves as a visual attraction rather than a tool for this activity so make sure to reinforce not touching the parachute during this activity.
- Demonstrate the push-up position with your hands near the parachute but not touching (students should be facing the parachute in a push-up position behind their color wedge). Have the students model the same position?
- Then, give a number (1-4) and a direction (right or left). On “go” the students will move that number of wedges in that direction while maintaining the proper “up” modified push-up position (and not actually going “down”). You can incorporate right/left or clockwise/ counterclockwise.
- Then, instruct the students to rest (body on the ground) at their new color wedge. You can then incorporate stationary push-ups or go back the other way.
- Combine this with ‘parachute curl-ups’ and ‘parachute jumping jacks’ for a good warm-up to a parachute lesson.
DEBRIEFING & WRAP-UP
- Relax your arms, Rotate your hands
- Ask the students what the important cues are for the push-up. Ask the students what other activities strengthen the same muscles.
by Neetu | May 26, 2020 | Fitness Activity
Aim
To practice different directions while enjoying a fun activity
Equipment Required
- Four cones for boundaries (same color).
- Spot marker for every kid.
- Fluff Balls 4-5
Play Area Set-Up
- Spread the parachute completely and lay it on the ground
- Have children hold the handles of the parachute or rolled up edges
Activity Description
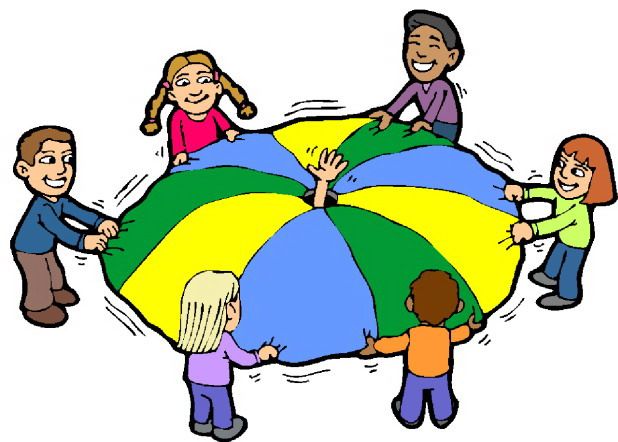
1- Place Fluff Balls in the middle of the parachute and have the students shake the chute to make the seeds (balls) spring into the air.
2- Raise the parachute up and call out the colors listed below and have the students crawl underneath the mud (chute), while the other students sit and shake the chute.
3- Raise the chute in the air like the growing stem, then call out the colors listed above, the students then crawl on top of the chute to the center and lay down like the leaves, basking in the sun.
DEBRIEFING
- How does the parachute help our body?
- What levels did we use today as we were moving?
- If you stretch and grow like a flower, what type of body shape do you have?
