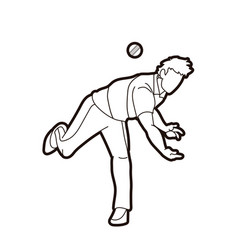
Aim
Get the bowling & catching basics correct for grip, action & cup hands
Equipment Required
• Tennis Balls
Play Area Set-Up
1. Create boundaries for a large activity area with large cones.
2. Create a Bowling area and throwing area individually while taking respective sessions
Activity Description:-
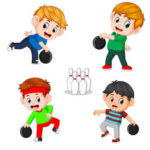
1. Bowling
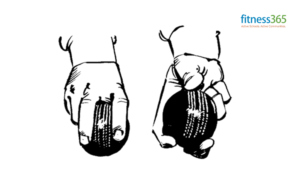
Grip
- 1st and 2nd fingers are placed on the seam
- Thumb is underneath on seam
- Last two fingers are tucked into the palm
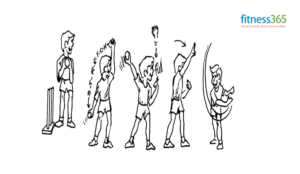
Action: 1st Method – Pull the String
- Stand side on
- Stretch the string with the front arm reaching for the sky and bowling arm next to back knee
- Pull the string with front arm and release ball
- Follow through ie bowling hand in the back pocket
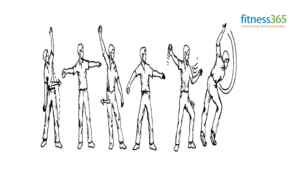
Action: 2nd Method – Pull the String
- Make a ‘cross’ with arms then turn side on with the arm holding the ball at the back
- Head level and turned to look at the batter
- Begin rocking from front foot to back foot like a see-saw
- Once you have a good rock release the ball as you rock forwards
- Front arm pulls down past left hip with bowling arm following across body
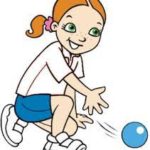
2. Catching
Close Catching
- Stand with feet shoulder-width apart and knees slightly bent
- Cup hands like getting a ‘drink from the tap’
- Have fingers pointing towards the ground
- Watch the ball into hands
- Hands and elbows give with the ball, like catching an egg
Outfield Catching
- Hands above eyes
- Fingers pointing up and back with elbows bent
- Hands and elbows give with the ball, like catching an egg
Grade Level Progression
1. Slowly increase the bowling pace. Catch the ball thrown from an increasing distance
2. Vary the speed of the ball while bowling, Catch the ball thrown with an increasing height
3. Bowl towards the target & try hitting it. Catch the ball with both height and distance variation
Hints & Tips for PE Effectiveness
- Organize children into groups
- Organize groups according to age and ability. You may need to reorganize groups after the first or second week
- Have a maximum of 10 in a group
- Give each group a memorable name (e.g the ‘Virat Kohli’s group) this will allow you to organize children quickly into groups
- The Coordinator should oversee the program and help parents run the activities rather than be tied to one group
- Ensure there is adequate room between activities for safety purposes
- Have the equipment needed for modified games ready to set-up
- Organize to have a helper look after money and registrations to allow the coordinator to look after the activities
- Try not to place too much emphasis on technique, the ability to bowl a ball or hit a ball will provide the greatest enjoyment during the early stages of the program


