by Neetu | Jun 19, 2020 | Fitness Activity
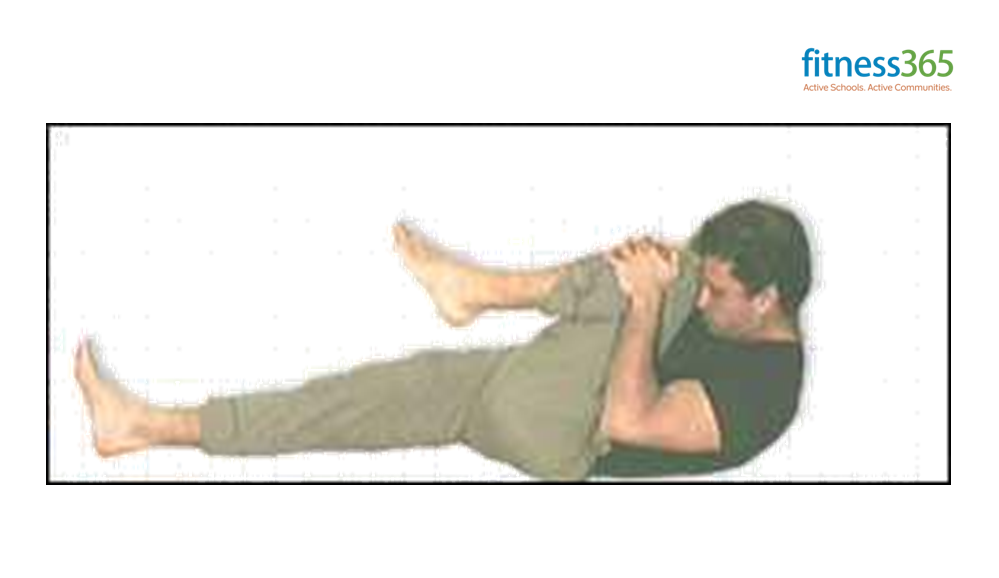
Posture: Pavana-Mukta-asana: The Wind-releasing Pose
(Pronunciation: pa-vana mook-tah-sa-na)
Description:
The Sanskrit word Pavana means air or wind and Mukta means freedom or release, therefore this is the “wind relieving posture” so named because it assists in releasing trapped digestive gas from the stomach and intestines.
Performing Instructions
- Inhale and bend the right knee and pull it close to the torso with both hands while interlocking the fingers just below the knee. Keep the left leg flat on the floor.
- Hold the inhaled breath for a few seconds then exhale slowly through the nostrils and lift the back, shoulders and head off the floor and touch the knee with the forehead.
- Hold the exhaled breath for a few seconds then slowly inhale and return the back, shoulders, and head to the floor. Remain to hold the knee.
- Hold the inhaled breath for a few seconds then exhale while bringing the right leg to the floor.
- Lie flat on the back in the shava-asana for a few seconds then repeat beginning with the left leg.
Comments
As mentioned above, practicing the Purana-Mukta-asana will help to release gastrointestinal gas. It also improves other gastrointestinal problems like upset stomachs and constipation by stimulating the abdominal region.
Duration/Repetitions
Hold each of the four parts of this posture (corresponding with the held breaths) for three to five seconds each. Repeat the purchase-Mukta-asana three to five times on each side.
by Neetu | Jun 19, 2020 | Fitness Activity
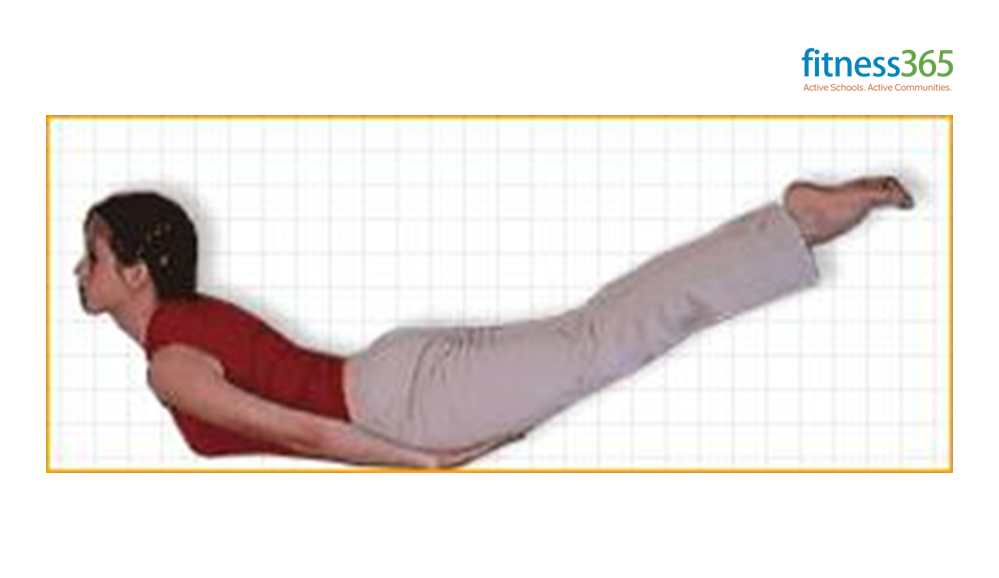
Posture: Shalabha-asana (The Locust or Grasshopper Posture)
Description:
The Sanskrit word Shalabha means locust or grasshopper. There is a variation of this posture called the viparita-shalabha-asana. The Sanskrit word viparita means “reverse.” This is an advanced variation not covered here.
Performing Instructions
- Lie on the stomach with the head turned to one side and the arms alongside the body with palms facing upward.
- Turn the head and place your chin on the floor. Slide your hands under your thighs, with the palms pressed gently against the top of your thighs.
- Inhale slowly and then raise the head, chest, and legs off the floor as high as possible. Tilt your head as far back as possible. Keep your feet, knees, and thighs pressed together.
- Starting at the top of the head and working your way down to the feet, bring your attention to each part of your body, consciously relaxing it before proceeding on to the next.
- Remain in the posture while holding the breath. You can support your legs by pressing the hands upward against your thighs.
- Hold the posture for as long as you can hold the inhaled breath then slowly return the legs, chest, and head to the floor while exhaling.
- Remove your hands from under your thighs and place the arms alongside your body. Turn your head to the side and rest.
Comments:
The shalabha-asana has many benefits. Besides strengthening the muscles of the upper legs and lower back, it stimulates the stomach and intestines helping to relieve gastrointestinal gas, strengthens the bladder, and stretches the spine.
To assist raising the legs as high as possible keep the back of the hands resting against the floor while pushing the legs upward with the fingers. As you get better at this posture and increase the strength of your legs you can raise the hands completely off the floor so your legs are raised unsupported. This increases the benefits of the shalabha-asana.
Duration/Repetitions:
Hold this posture for as long as you can hold the inhaled breath. Repeat the shalabha-asana three times.
by Neetu | Jun 19, 2020 | Fitness Activity
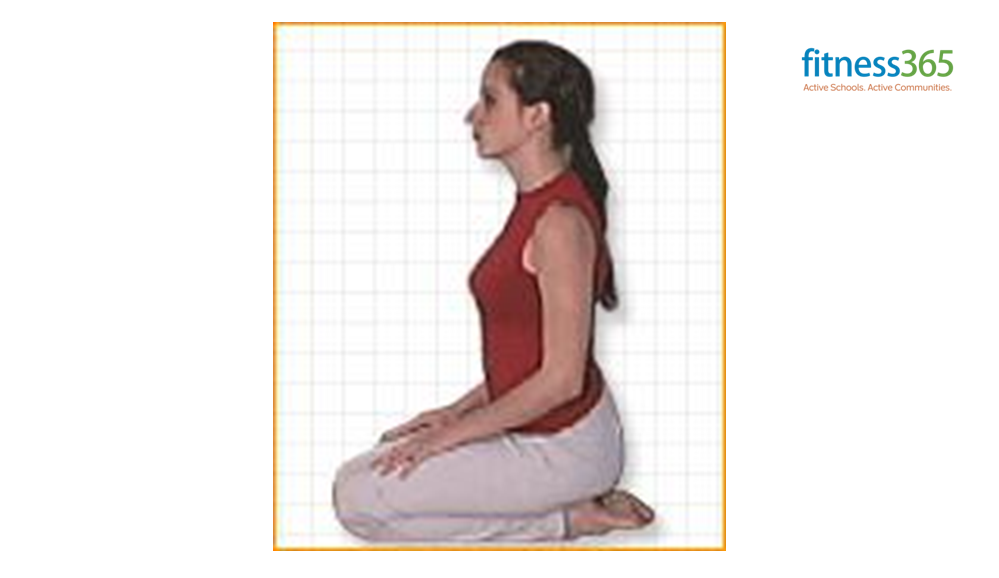
Posture: Siddha-asana (The Accomplished or Adept Pose)
(Pronunciation: sid-dhah-sa-na)
Description:
The Sanskrit word Siddha means accomplished or adept, one who has attained the highest. The name implies the attainment of a perfectly stilled mind and the experience of peace that results from meditation. The Siddha-asana is a recommended pose for meditation.
Performing Instructions:
- Begin in a seated posture. Bend the left knee and grasp the left foot with both hands and place the heel against the perineum and the sole of the foot against the inside of the right thigh.
- Exhale and reach down and loop the forefinger of the right hand around the big toe of the right foot and grasp the left foot with the left hand.
- Bend the right knee, grasp the right foot with both hands and place the outside edge of the right foot where the calf and thigh of the left leg meet, right ankle over left ankle. The heel of the right foot should line up approximately with the navel and be as close to the pubic area as possible..
- With palms up, place the hands on the knees, form a circle with the thumb and forefinger and extend the remaining fingers straight ahead.
Comments:
The siddha-asana is complicated to describe but is actually one of the simpler sitting postures. It requires less flexibility of the legs than the padma-asana yet it facilitates relaxation, concentration and ultimately, meditation.
Siddha-asana helps to establish an equilibrium throughout the body/mind. It will also help stretch the legs and pelvic area to the point where the padma-asana can be held effortlessly. Either posture, by creating a firm foundation with the legs locked in a crossed position and the spine held straight and motionless, awakens the attention and helps cultivate concentration. When concentration is highly focused and undistracted, meditation follows.
Duration/Repetitions:
Sit in the siddha-asana for a minimum of 1 minute and extended the time up to ten minutes or more.
by Neetu | Jun 19, 2020 | Fitness Activity
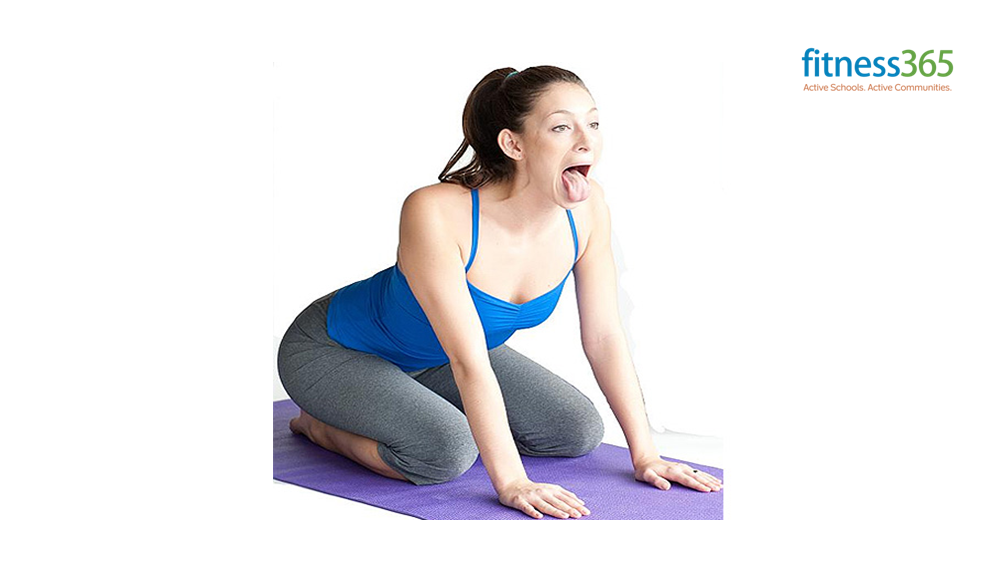
Posture: Simha-asana – The Lion Pose
(Pronunciation: sin-gha-sa-na)
Description:
The Sanskrit word Simha which literally means “the powerful one” is the word for “lion.” This, therefore, is known as the lion posture, and one performing it can be said to resemble a roaring lion about to attack.
Performing Instructions
Sit upon the knees with the heels of the feet pressed against the buttocks and the calves of the legs flat on the floor.
Place the balls of the hands-on the knees, straighten the arms and keep the back erect and the head straight (not tilted forward, back, to the left or the right).
Inhale while leaning forward slightly, stretching the mouth the jaws as wide as possible, extend the tongue out and downward as much as possible, fix your gaze either at the tip of the nose or between the eyebrows and stretch the fingers straight out from the knees.
Hold the posture for the duration of the inhaled breath then exhale, relaxing the forward stretch, dropping the fingers to the knees, and closing the mouth and eyes.
Comments:
The Simha-asana benefits parts of the body that most other asanas do not: the face, jaw, mouth, throat and tongue. Those who experience tightness or discomfort in the jaws such as teeth grinding, clenched jaws, a misaligned bite, etc. will benefit from both the jaw and tongue stretching of the Simha-asana. This asana is also known to help prevent or cure sore throats. The muscles and tissues of the face are rejuvenated from the alternating stretching and release, an exercise they rarely get in the course of our everyday lives. The fixed gaze relieves tense or burning eyes and the stretched fingers benefit the hands and wrists.
Duration/Repetitions
Hold the Simha-asana for thirty to sixty seconds and repeat three to five times.
Variation
Try roaring loudly like a lion as you enter into the Lion Pose while sticking your tongue out. This stimulates the throat and cultivates courage and fearlessness. Kids love to do it, shouldn’t adults as well?

by Neetu | Jun 19, 2020 | Fitness Activity
Posture: Ugra-asana – The Noble Pose
(Pronunciation: oo-grah-sa-na)
Description:
The Sanskrit word ugra means powerful, mighty, strong or noble. We usually keep this posture untranslated but it can be called the noble or powerful posture.
AlternateAlso known as the pascimottana-asana or the brahmacharya- name:asana. The word pascima can mean behind, later, last or final but it literally means “western” as in the direction.
Pascimottana thus means back-stretching posture.
Performing Instructions
- Sit on the floor with the legs together and extended straight out in front. Keep the back straight, shoulders level and head straight. Place the hands, palms down, flat on top of the thighs then inhale deeply.
- Exhale and extend the arms straight out in front, parallel with the floor with fingers pointed straight ahead and palms facing down.
- Inhale slowly while raising the arms over the head, keeping them straight, and bending as far back as is comfortable. Tilt the head back and look up at the hands.
- Exhale slowly bending forward at the waist and grasp the feet with the hands. Bring the head as close to the knees as possible, placing it on the knees if you can, keeping the legs straight. (If you are unable to grasp the feet then grasp the ankles).
- Hold that position for the duration of the exhale breath.
- Inhale slowly and return to the seated position described in step #1.
Comments:
When the ugra-asana is properly performed, all the vertabrae of the spine and each muscle in the back is stretched. This type of stretching is highly beneficial. Try it regularly for a week and you will, without doubt, notice the benefits.
The compression or contraction of the stomach followed by the release increases blood flow to the abdominal region and tones the muscles. Gas is release and sluggish digestion and/or constipation is improved. The muscles in the calves and thighs get a good stretching, helping to relieve fatigue and soreness in the lower extremities.
Duration/Repetitions
Repeat this posture two or three times holding each repetition for the duration of the exhaled breath and take at least three deep breaths in-between each repetition. As you become more adept at doing the ugra-asana you may begin breathing slowly through the nostrils while holding the posture to increase its duration.
by Neetu | Jun 19, 2020 | Fitness Activity
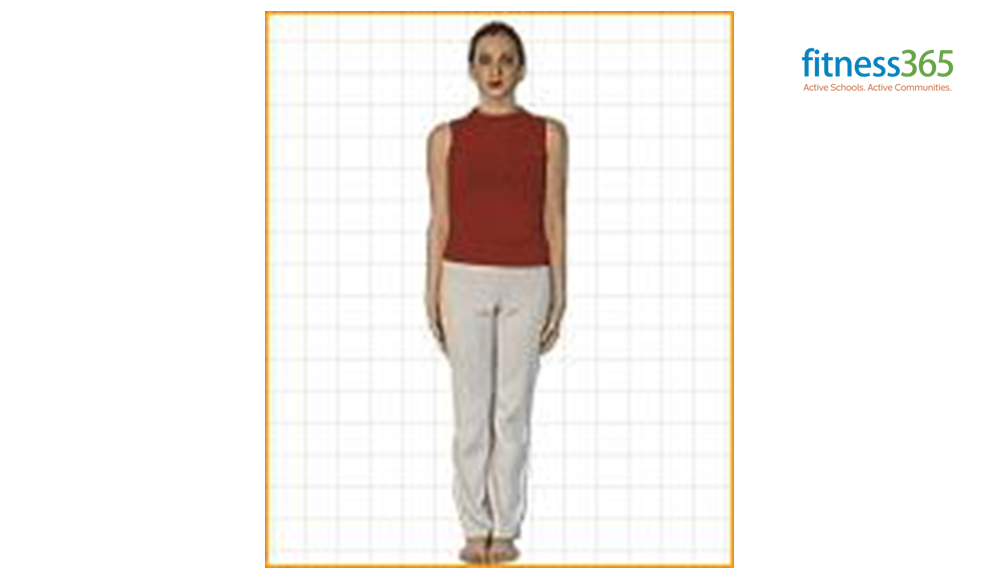
Posture: Tada-asana – The Mountain Pose
(Pronunciation: ta-dah-sa-na)
Description: The Sanskrit word tada means mountain. This posture is also known by the name samasthiti-asana. Sama means unmoved, equilibrium, and sthiti means standing upright or firmly, abiding, remaining, thus samasthiti means standing firmly without moving.
Performing Instructions
- Stand with both feet touching from the heel to the big toe, keeping the back straight and the arms pressed slightly against the sides with palms facing inward.
- Slightly tighten or flex the muscles in the knees, thighs, stomach, and buttocks maintaining a firm posture. Balance you weight evenly on both feet.
- Inhale through the nostrils and lift the buttocks off the legs arching the back and thrusting the abdomen forward and tilt the head as far back as possible.
Comments
Many common ailments and discomforts can be traced to poor posture. If the spine is not properly aligned or if there is tightness or stiffness in the back, the result is often an imbalance in the body. When this imbalance becomes chronic many kinds of disorders arise in the organs, glands, and nervous system.
Performing the tada-asana allows one to observe one’s posture closely and clearly recognize those problems which get masked or ignored by day-to-day activities. As the posture is held and the breath, mind, and body is quieted various effects will surface to indicate difficulties with the spine. Favoring one foot over the other, shifting back and forth, drooped shoulders, tightness in the neck and upper or lower back, and various other physiological disturbances may appear indicating the need for further yoga practice.
The proper execution and continual practice of the tada-asana along with other postures help to re-train the body to stand correctly and reverse the negative effects of poor posture.
When the tad-asana is performed properly and the mind is focused and free of distraction, the body is experienced as being rooted firmly to the earth and as steady and motionless as a mountain.
Duration/Repetitions
One repetition for several minutes is advisable. The tada-asana is also recommended prior to and following any other standing posture.


