by Neetu | Jun 19, 2020 | Fitness Activity
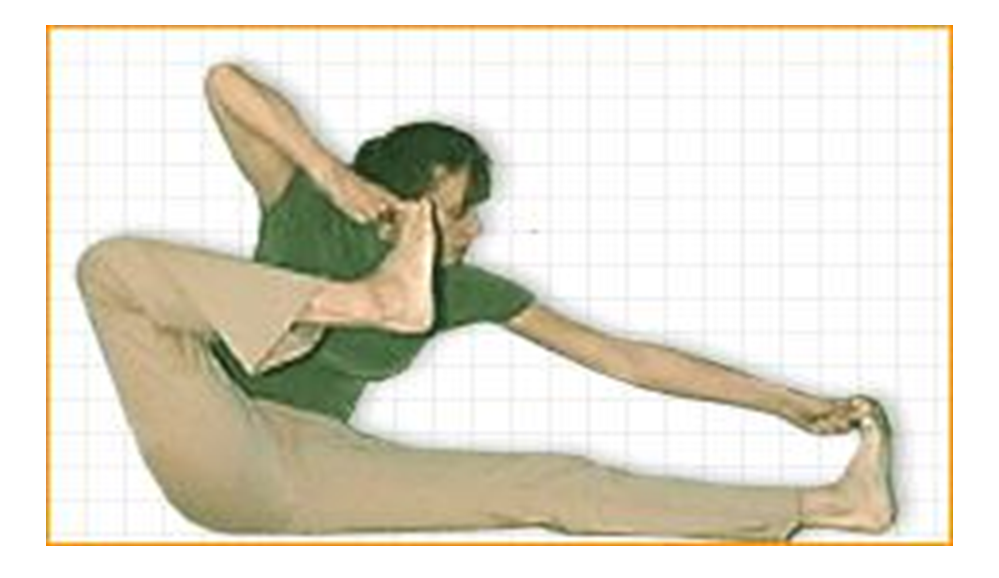
The Shooting-bow Pose
Description: The “bow” here referred to is a bow as in “bow and arrow.” Literally we could translate this as the near-the-ear bow posture but because of the obvious appearance of the posture, we’ll call it the shooting bow posture.
Performing Instructions:
- Sit on the floor with the legs together and extended straight out in front. Keep the back straight, shoulders level, and head straight. Place the hands, palms down, flat on top of the thighs then inhale deeply.
- Exhale and reach down and loop the forefinger of the right hand around the big toe of the right foot and grasp the left foot with the left hand.
- Inhale and pull the right foot back placing the big toe next to the right ear. Straighten the back as much s possible and hold the posture for the duration of the inhale breath.
- Exhale and return to the seated position of step #1 then repeat the posture on the opposite side.
“Having caught the toes of the feet with both hands and carried them to the ears by drawing the body like a bow, it becomes Dhanura-asana.”
Comments:
While practicing this posture imagine yourself as an archer with the gaze focused on the target and the arrow firmly yet gracefully being pulled back in the bow. Hold the posture steady as an archer would hold the arrow aimed at its target. Return the foot to the floor gently. This simple technique will help cultivate a focused and unwavering attention.
Variations:
Reverse the hands and feet so that that the right-hand pull the left foot to the left ear and vice versa. The foot gets pulled under the outstretched arm.
by Neetu | Jun 18, 2020 | Fitness Activity
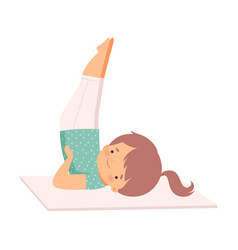
Posture: Sarvanga-asana : The Shoulder-stand Pose
(Pronunciation: sar-vong-ah-sa-na)
Description:
The Sanskrit word sarvaanga means limb or body. sarvanga, therefore, translates as either “all-limb” or “whole-body posture”. It is so named because of the benefit it provides to the entire body. It is commonly referred to as the “shoulder-stand” because one is essentially standing on one’s shoulders.
Performing Instructions
- Lie flat on the back in the shava-asana.
- Inhale through the nostrils. Place the palms face-down on the floor. Keeping the hips on the floor, bend the knees and bring them up toward the stomach while exhaling.
- Inhale slowly through the nostrils, press down on the hands and lift the torso from the waist up off the floor, arching the spine backward and straightening the arms. Keep the hips on the floor.
- Inhale, then while exhaling, raise the legs straight up perpendicular to the floor. You may support your hips with your hands or leave the arms flat on the floor, whichever is most comfortable.
- The legs should be together with the knees straight and toes pointed straight up. Keep the head straight without turning it to either side. The chin should be pressed against the chest.
- Breath gently through the nostrils while the posture is held.
- Reverse the steps to return to the shava-asana.
Comments:
The savanna-asana is considered by many to be the most beneficial of all yoga postures. Because of its many benefits, if you find that your time is limited in the course of Yoga practice at home, it is recommended to place special emphasis on the savanna-asana.
When performed in the morning the sarvanga-asana relieves fatigue caused by sleeping too much or too little and when practiced in the evening it helps to promote deep, restful sleep. It strengthens the back and helps to relieve lower back pain.
The increased blood flow to the head and upper body helps to heal many disorders such as headaches, nasal congestion, and sore throats. The entire endocrine, digestive, nervous, and venous systems of the body are stimulated in ways that no form of diet or conventional exercise can perform.
Because the body is inverted a rich supply of oxygenated blood is sent to the organs and glands in the upper part of the body, such as the brain, thyroid, and pituitary, and heart thereby stimulating them. The pressure is relieved from the lower body extremities relieving pain and/or swelling of the feet and legs. The sarvanga-asana also provides great benefits to the abdominal organs helping to relieve gas and constipation and stimulate digestion. Regular practice of this posture invigorates the mind and helps to calm the nervous system.
Duration/Repetitions:
Hold the sarvanga-asana anywhere from one to five minutes depending on comfort. Repeat the posture two or three times.
Variations
There are two common variations to this posture. One is called the shalamba-sarvanga-asana. Sa means with and alamba means prop or support and refers to the use of the arms to support the legs and torso as they are inverted. The other variation is called the niralamba-sarvanga-sana. Nir means without and thus this variation is done without the support of the arms.
by Neetu | Jun 18, 2020 | Fitness Activity
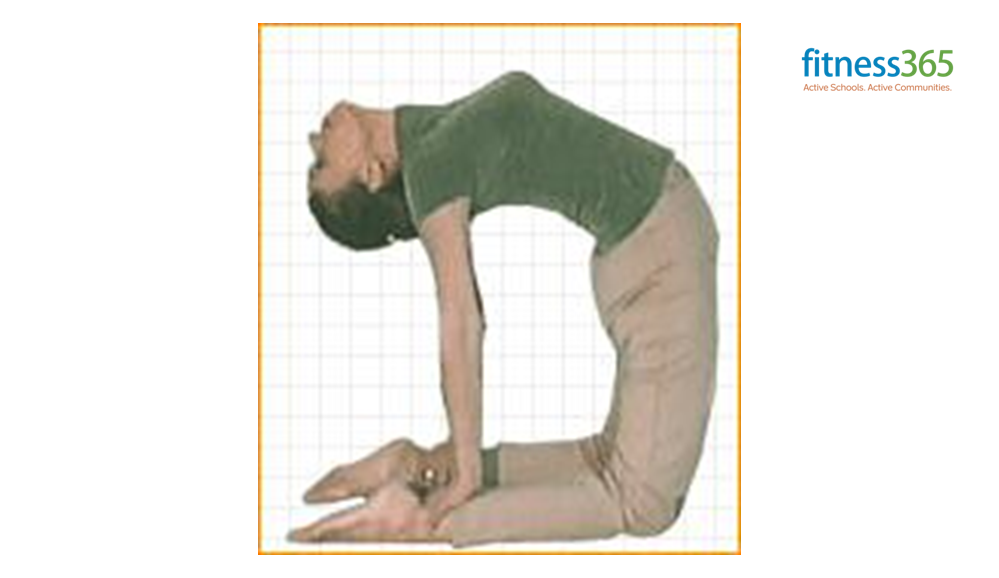
Posture: Ushtra-asana – The Camel Pose
(Pronunciation: oosh-trah-sa-na)
Description:
The Sanskrit word ushtra means camel.
Performing Instructions:
- Sit up on the knees with the heels of the feet pressed against the buttocks and the calves of the legs flat on the floor.
- Reaching backward, grasp the left ankle with the left hand and right ankle with the right hand.
- Inhale through the nostrils and lift the buttocks off the legs arching the back and thrusting the abdomen forward and tilt the head as far back as possible.
- Either hold the posture for the duration of the inhale breath or breath gently through the nostrils while holding the posture.
- Exhale and return to the kneeling position.
Comments:
The ushtra-asana is a powerful posture for streatching the spine, back muscles, shoulders and arms. It is best to practice it later in your asana routine after most of the muscles are limber and and you have worked the back and shoulders.
Duration/Repetitions
Hold the posture for the duration of the inhaled breath. If you choose to breathe while holding the ushtra-asana, hold it for between thirty seconds to one minute. Repeat the posture three times.
by Neetu | Jun 18, 2020 | Fitness Activity
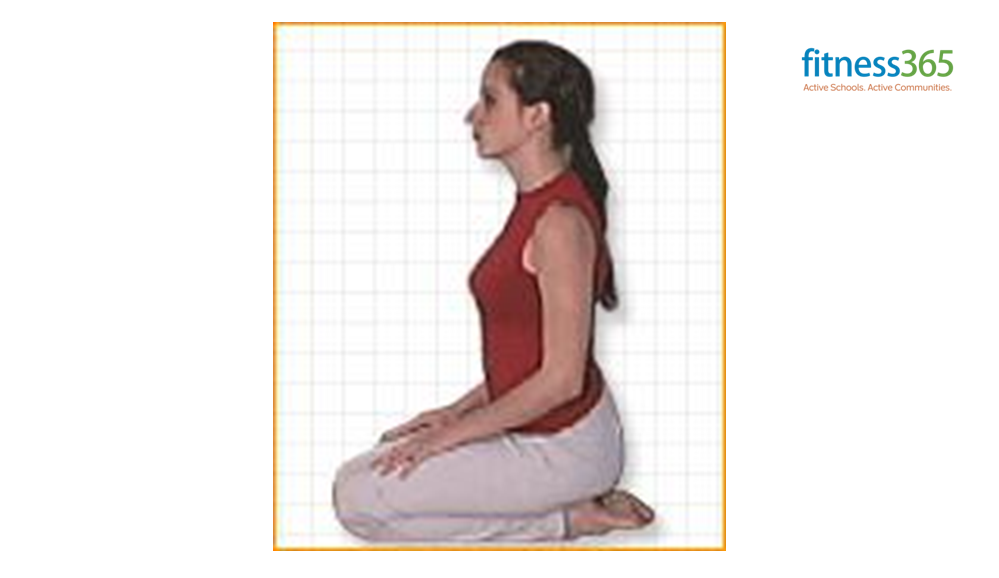
Posture: Vajra-asana (The Thunderbolt or Diamond Pose)
(Pronunciation: vuh-drah-sa-na)
Description:
The Sanskrit word vajra means thunderbolt or diamond.
Performing Instructions
- The vajra-asana is a seated posture. Begin by sitting back on your heels and placing your knees, legs and feet together.
- Keeping the back straight place the palms of your hands down on top of your thights.
- Breath gently thorugh your nostrils and sit in this position for at least three minutes.
Comments:
The vajra-asana is a versatile posture well suited for meditation, rest in between other seated postures, or as an aid to digestion.
The vajra-asana is the position in various other yoga postures such as the anjaneya-asana (salutation posture) and the ushtra-asana (the camel).
Duration/Repetitions
The vajra-asana can be held for as long as is comfortable(and depending on the reason for doing the posture).
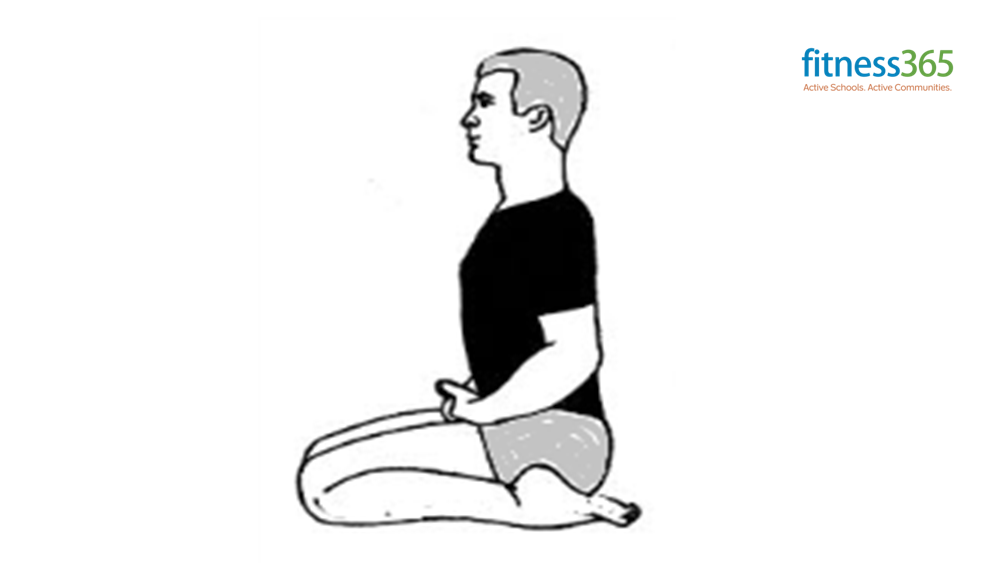
by Neetu | Jun 18, 2020 | Fitness Activity
Posture: Vira-asana – The Hero Pose
(Pronunciation: veer-ah-sa-na)
Description:
The Sanskrit word Vira means hero, brave or eminent man, or warrior.
Performing Instructions
- Kneel on the floor with the calves and tops of the feet flat on the floor and the thighs touching.
- Slowly spread the feet, about shoulder-distance apart, while keeping the knees together. Place the buttocks flat on the floor. The outer sides of the thighs are touching the inner sides of the calves and the soles of the feet are exposed facing up. Place the hands’ palms downs, on the knees, and form a circle with the thumb and forefinger (in the chin-mudra) while pointing the other fingers straight ahead.
- Breath slowly and deeply through the nostrils and remain motionless for six complete breaths (an inhale and exhale is one complete breath).
- Inhale slowly and stretch the arms straight up over the head and interlock the fingers with the palms pushed upward. Remain in this position for six complete breaths.
- Exhale slowly, release the fingers and slowly bend forward at the waist while placing the palms of the hands flat on the soles of the feet. Place the chin between the knees.
- Hold this position for the duration of six complete breaths. Inhale, raise the chest up, stretch the legs straight ahead and place the hands, palms down, on top of the thighs.
Comments:
The vira-asana is an alternative to the Padma-asana, Siddha-asana, as well as other seated postures, for mediation and pranayama.
Duration/Repetitions
Hold the posture from several minutes as part of an asana session or for the duration of your meditation or pranayama.
Variations
The Supta-vira-asana variation (supta is the Sanskrit word for “lying down”) stretches the abdominal muscles and relieves pain and discomfort in the legs. Begin the posture as detailed above then incline backward and lean the back on the floor. The arms are stretch straight above the shoulders and kept flat on the floor.
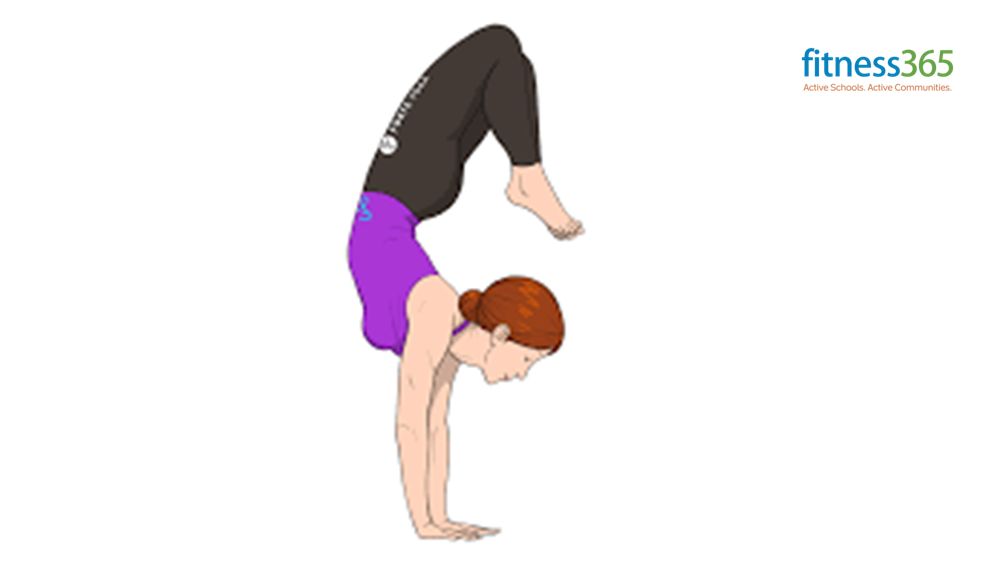
by Neetu | Jun 18, 2020 | Fitness Activity
Posture: Vrischika-asana (The Scorpion Pose)
(Pronunciation: vrik-shah-sa-na)
Description:
Vrischika is the Sanskrit word for scorpion. This posture is so named because the body resembles a scorpion with its tail arched above its head ready to sting its victim. Although it may not be a simple posture for beginners to perform, the Scorpion is not as difficult as it may at first seem.
Performing Instructions
- Kneel on the floor and lean forward placing the elbows and forearms flat on the floor with the palms facing down. Your arms should be placed about shoulder-distance apart.
- Extend your head forward and lift it as high as possible.
- Raise the buttocks and place the feet firmly on the bottoms the toes.
- Inhale a swing the legs up and over the head while maintaining your balance. Bring the legs straight up over your head.
- Slowly bend the knees and drop the legs toward the head being careful not to move too quickly or drop the legs to far while maintaining balance.
- Reverse the steps above and return to a kneeling position.
Comments:
The Scorpion should not be attempted until you are comfortable with all the balance postures (e.g.: Vriksha-asana, Ekapada-asana, etc.) as well as the Headstand (Sirsha-asana). Beginners should do this posture under the supervision of a qualified teacher. When first attempting the Scorpion asana you may want to try it while facing a wall. Position yourself so that when you are doing step #1 above your head is about 2 – 3 feet from the wall. This way if you lose your balance you can use the wall for support.
This posture will provide maximum stretch to the neck, spine, and chest. It combines many of the benefits of the Chakra-asana (the Wheel posture) and the Sirsha-asana (the Headstand).
Duration/Repetitions
Hold the vrischika-asana for as long as you are comfortable. Keep in mind that returning from the posture gracefully without falling out of it will take some strength, so don’t hold it too long. 20-30 seconds is fine for early attempts, increase the time gradually as you become more proficient.


