by Neetu | May 29, 2020 | Fitness Activity
Movement skills/concepts
Hopping for height, hopping for distance, static, and dynamic balance.
Set-up
- Cones, low platform (bench, box top), chalk, balloon, string, and ropes.
- Children spread out in small groups in a defined hard or grass area.
Activity
Children practice activities.
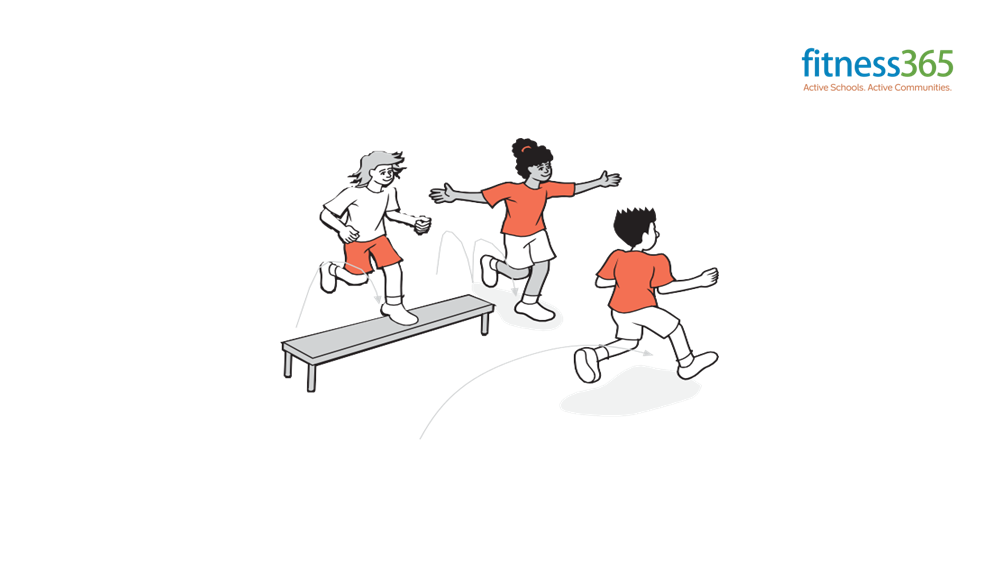
- stand on one foot, hop three times in a row and hold your landing
- hop as high as you can and hold your landing
- alternate high and low hops
- hop over lines or ropes on the ground (spread ropes out so they are in lines with a step in between, like a ladder)
- hop over low cones spread out in a line, hop over four obstacles in a row
- take two steps and hop as high as you can – step, step, and hop. If you hop off your right foot, which foot will you step on to first
You could ask …
- What is the importance of your arms in hopping?
- What is the difference between the way you hop for distance and the way you hop fo
by Neetu | May 29, 2020 | Fitness Activity
Movement skills/concepts
Hopping through different pathways, levels, and qualities (e.g. fast, soft), and relationships (with equipment and partner).
Set-up
- Ropes, hoops, discs, cones.
- Children spread out in defined grass or hard surface area with equipment to hop over.
Activity
Children explore ways to hop.
Can you hop …?
- on the spot, forwards/backward/sideways
- and turn in the air
- and turn in the air making a quarter turn/half turn/full turn
- as quietly/noisily/quickly/slowly as you can
- as softly/hard as you can three times on your right/left foot
- alternating hard and soft landings
- over the rope, into the hoop, onto the disc, around the cones
- as high as you can, with little low hops, at a medium height
- as far as you can for distance
- without using your arms, using only one arm, using your opposite hopping foot
- alternating feet every eight/four/two beats
- with partners at the same time/moving forward holding hands/facing each other
Variations
Hopping tug of war: In pairs, children hold one of the partner’s hands and hold their non-hopping leg with their other hand, they then try to pull each other off-balance (no rough play).
Follow the leader: In small groups, one person leads the group, one behind the other, on a hopping journey over, on, and through obstacles.
by Neetu | May 28, 2020 | Fitness Activity
Aim
Move safely in self-space, today we are going to play Beanbag Bandage. In this game, the Patient was injured while and the doctors need to figure out where to put the bandage.
.Equipment Required
- Four cones for boundaries (same color
- Spot marker for every kid.
- 1 bean bag per student & 1 small cone for 5-6 students
Play Area Set-Up
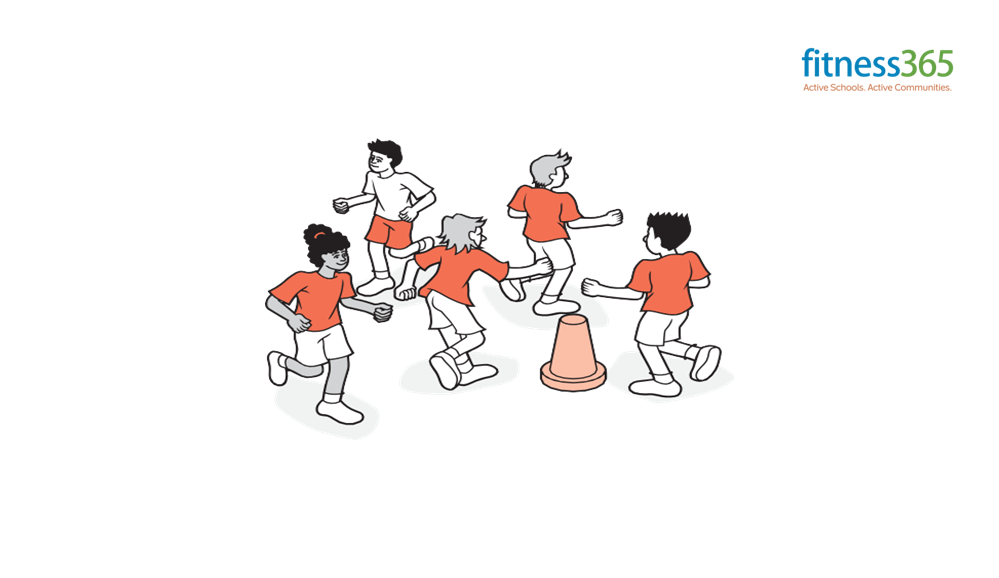
- Send groups of 5 or 6 students to a cone, each student should have a beanbag.
- One student acts as the Patient and stands next to the cone. The other students are Doctors and form an arc around the Patient.
Activity Description
- It’s time to play Beanbag Bandage. The Patient was injured while playing and the doctors need to figure out where to put the bandage.
- Altogether, the doctors will ask, “Where does it hurt?” The Patient picks a body part to call out and places the beanbag over the injury. For example, “My elbow hurts!”
- All of the doctors follow along by also placing beanbags on their elbows and saying, “All bandaged up! Is that better?” The patient says, “Yes, thank you!”
- The doctors ask again, “Where does it hurt?” The Patient says another body part, “My toes hurt!” This continues until the teacher stops play and chooses new Patients.
KEY TEACHING POINTS – Respond to the instructions after listening carefully.
by Neetu | May 28, 2020 | Fitness Activity
Aim
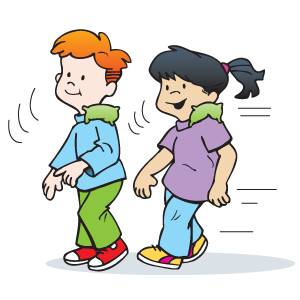
How to find personal space with the help of a bubble.
Equipment Required
- Four cones for boundaries (same color)
- Spot marker for every kid
- Skill Cards of direction
Play Area Set-Up
Make circle markings on the floor and ask children to sit with their hands on their knees with their eyes looking at you (crisscross-apple-sauce).
- Explain any special safety rules for the day.
- Explain that when you give a specific signal (e.g. whistle blow), the children must Stop/Freeze, Look, and Listen.
Activity Description
- Greet the children, introduce yourself, and bring them to the center.
- Ask the children to hold hands and form a circle with you, then sit down Explain in 20-30 seconds what you will be doing today and start the first activity.
Define “Personal Space”: is all the space that the body or its parts can reach without traveling away from a starting location
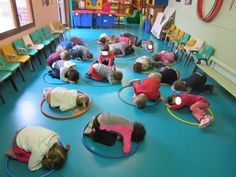
Activity: Making shapes (6 – 8 minutes)
- Explain that the children will now make shapes with their bodies within their space bubble.
- Demonstrate that the space bubble gets bigger or smaller depending on the size of the shape.
- Ask the children to imitate you as you make the following shapes:
- Star (arms and legs stretched wide, standing or lying down)
- Ball (crouch and tuck as small as possible)
- Candle (stand straight and tall with arms above head)
- Flamingo (stand on one leg with arms out to sides)
- Give the children an opportunity to invent their own shapes.
If time permits, ask a few students to demonstrate their shapes and ask the rest to imitate
Teaching Tips – From time to time, ask the children to freeze, check that they are maintaining their space bubbles.
by Neetu | May 27, 2020 | Fitness Activity
Aim
- Students will be able to perform the locomotor skills and will be able to call out what letter (or number) they have landed on
- To give students an opportunity to practice a variety of locomotor skills and numbers, letters and shape understanding
Equipment Required
- Four cones for boundaries (same color).
- Spot marker for every kid.
- 1 hoop per child.
- Music Player & pen drive.
- Laminated Letter cards (or number cards)
Play Area Set-Up
Layout letter cards over a large area. Show students the area around the cards where they will be walking/running and other locomotor skills.
Activity 1 Description
- Have children walk it once to show them where they need to stay. Explain that they will be moving around the letters by doing a motor skill. What are motor skills? Have them answer
- Students will do the motor skill (called out by teacher) until the music is turned off. Each student goes to an EMPTY letter card and stands there. The teacher calls randomly on
- Children and asks what letter they are standing on, or what sound that letter makes, or COW, who is standing on the first sound in COW.
- Then continue the game by calling out new motor skill and turning on music